Links to other parts:
Gameplan
As part of the quadbike rebuild project, i want to be able to drive the quad remotely like a R/C car.
There's quite a few things wrong with the design of this bike. it definitely is a cheaply made quadbike, the quality control is terrible.
My plan is to go over the entire bike and re-fabricate sections that would be used for radio control gear, such as servos and sensors. Along with fixing bad design decisions when it was made.
There isn't much room anywhere on this bike. its going to be a challenge to find space to put all of this equipment.
Radio control
For radio control, i've purchased an off the shelf surface radio and receiver.
i'll have enough challenges in this project as it is, i don't need to be troubleshooting radio issues as well.
i've purchased a Turnigy GT6 Surface radio, which has plenty of functionality for what i need.
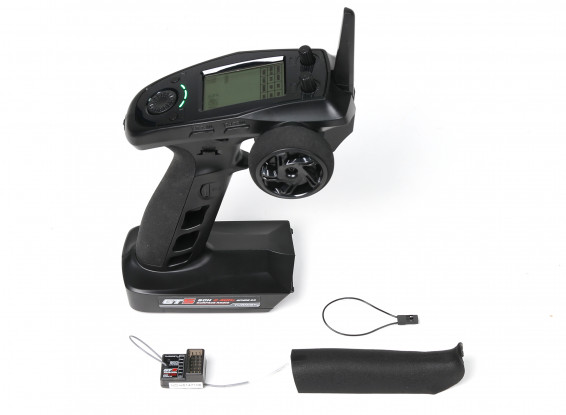
It has 6 channels along with drifting control and ABS (i'll probably never use this but its cool anyway).
Since this isn't a 1/8th scale RC car, i wont be able to use normal Servos to control this bike, its going to be a custom made solution for this bike.
The intention is to use a Arduino Nano to interpret the R/C receiver's signals, then control the motors.
Steering Control
I'm going down the tried and tested method of using a windscreen wiper motor to steer the bike.
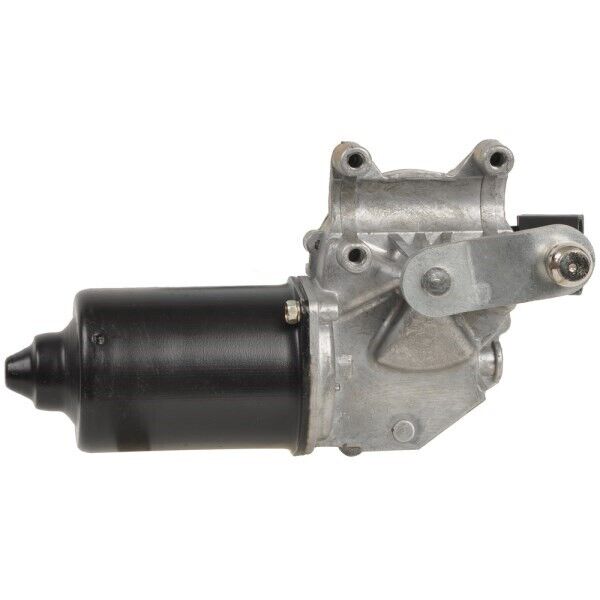
Note: example motor
The benefit of these motors is that they are mated with a gearbox by default along with a powerful motor.
The front of the bike has a little bull-bar, i've found that even with a compact windscreen wiper motor, i can't fit a steering mechanism in.
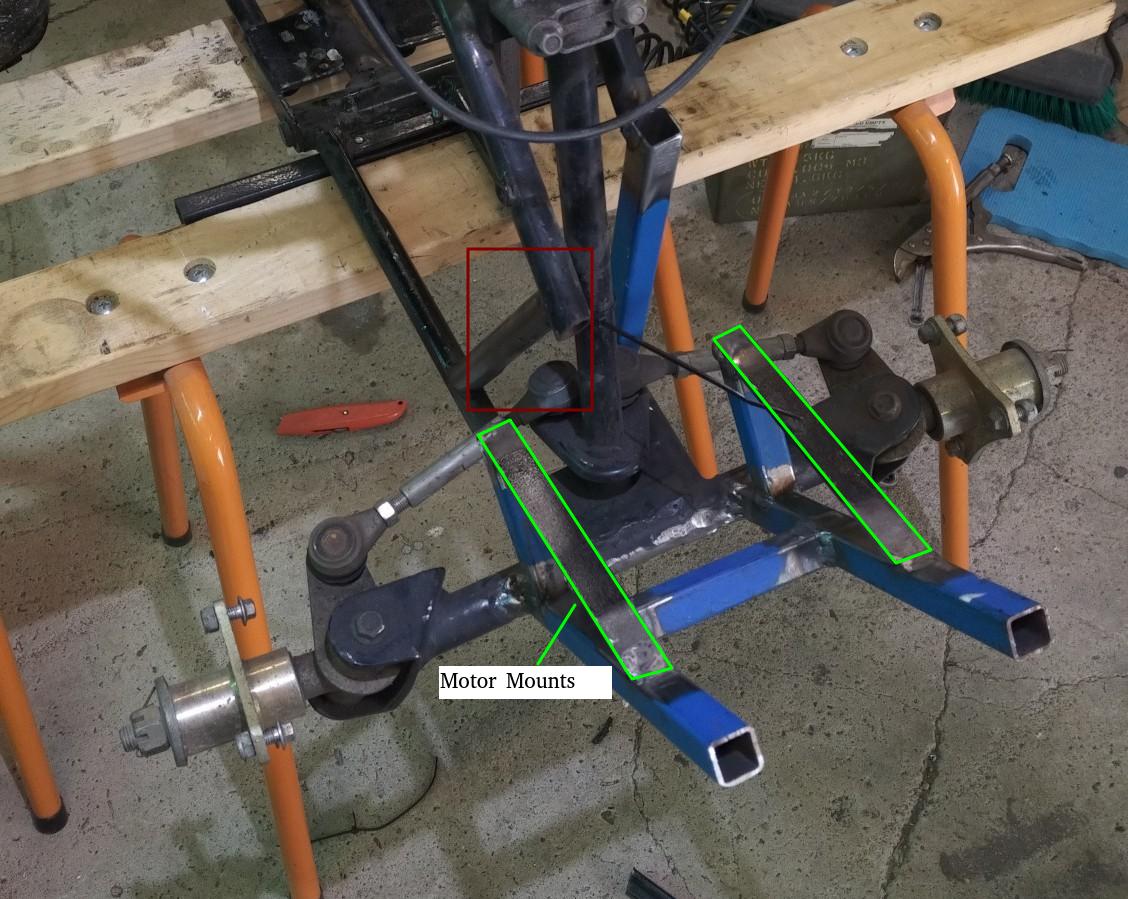 i've fabricated a new bullbar to allow for the steering mechanism to fit while still allowing the original mudguards/fairings to be used.
The red box is the original chassis that i've cut off. i'm replacing with square box section. in the image, the other side has already had the box section installed.
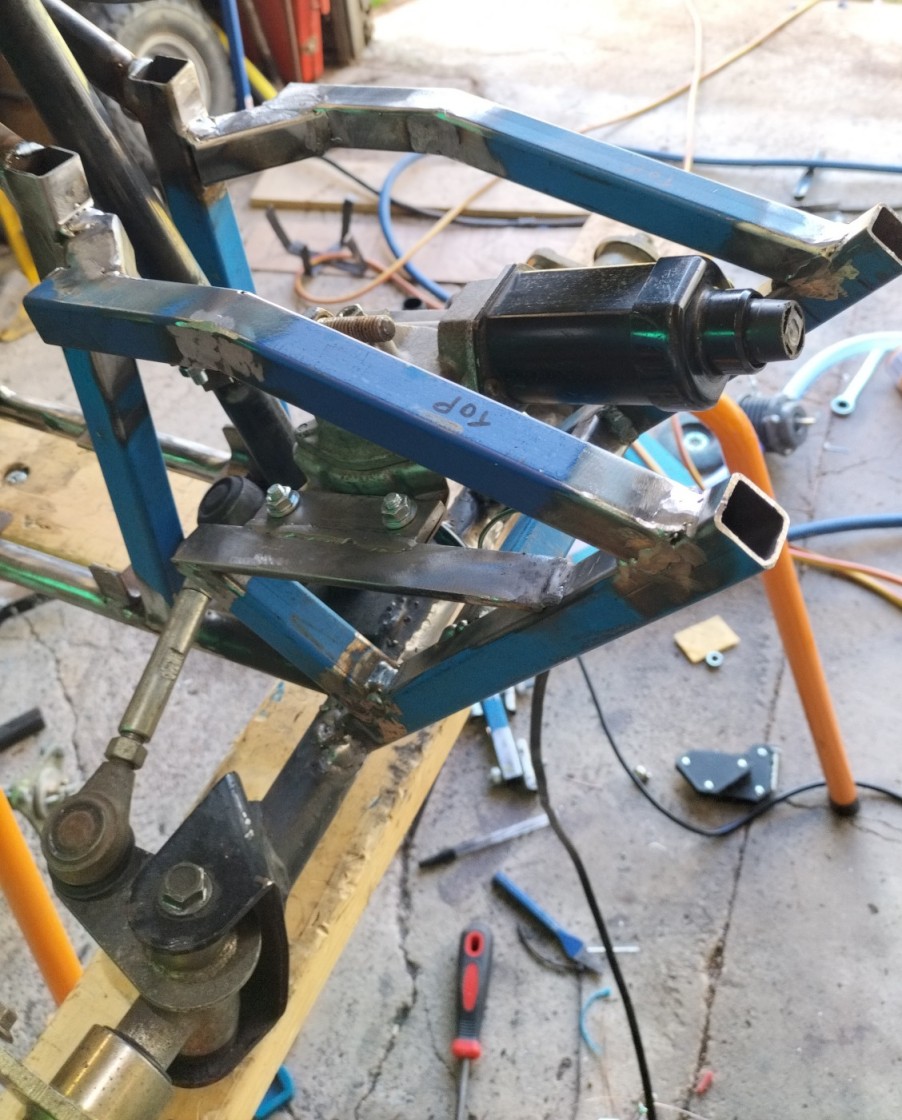 Test mounting the steering motor
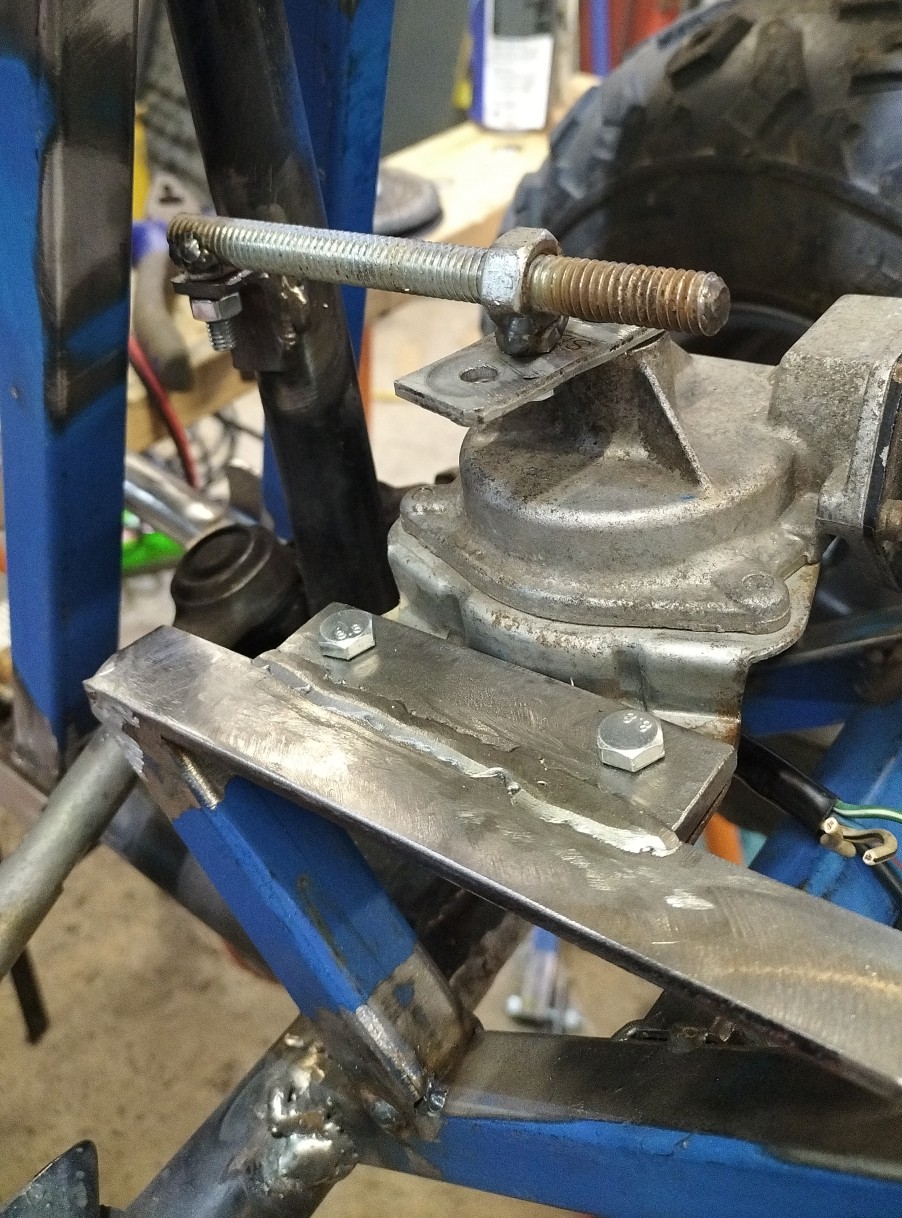 First attempt at a steering linkage seems to work.
Demo video of the motor steering the bike.
Brake Components
Since this bike has been around for a while, i was hoping there might be spares available to replace the brake components.
The brake line had a small leak, so i had to at least replace that.
I visited a quadbike business that sold chinese quadbikes for kids, they told me "you'll never find spares for these bikes anywhere".
I was able to convince the worker to check their parts bin just in case they had a spare brake line that would suit. 5 mins later they walked back holding the brake caliper, brake pads and a brake line.
The new parts were an exact replacement and fitted the bike fine.
Suspension Bushes
The design of this bike has 3 suspension bushes. The pivot point at the middle of the bike and the 2 bushes for the shock absorber.
I had previously tried to make replacement bushes using Sikaflex. This solution worked well however it wouldn't work for the middle pivot point since the bushing was at least 100MM long.
I had some Nolathane bushes that were originally purchased for my car but i had ordered the wrong ones and they didn't fit.
These bushes fit the pivot point after a little bit of trimming. I ended up replacing the diy Sikaflex bush with a Nolathane one as well.
Wheel bearing replacement
I was expecting this bike to not even have replaceable wheel bearings after my challenges with the brake components. Luckily, the bearings were standard size.
I replaced the two for the rear driveshaft and four for the front wheels.
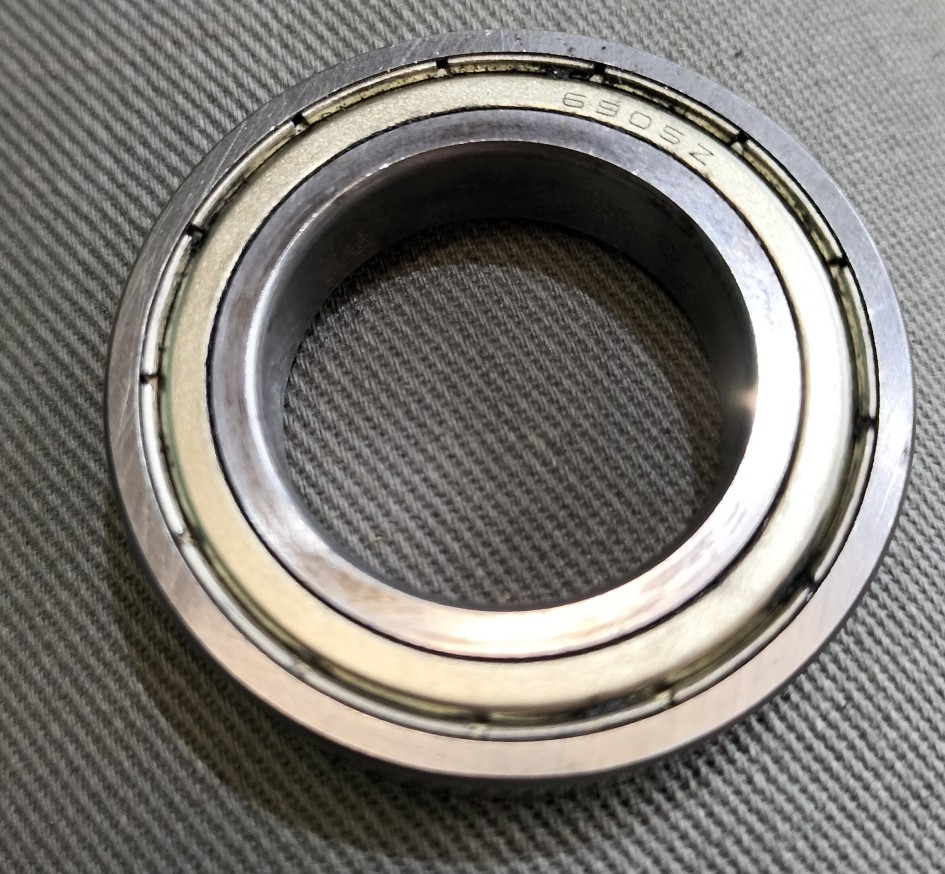 This is the used bearing. When i replaced them, i found that i probably didn't need to as they don't seem very worn.
Next Steps
Part 6 focuses on the electrical/programming sections of this project.